3D Scanner Buyer’s Guide Malaysia: How to Choose the Right Machine
3D Scanner Buyer’s Guide Malaysia: How to Choose the Right Machine
Quick verdict:Buy on the object, not the spec sheet. Decide what you will actually scan — size, surface, colour — whether you need to take the scanner to the part or bring the part to a bench, and how much accuracy your downstream work really needs. That narrows you to one of three tiers: metrology, professional, or the entry-level handhelds that complete the range. Pick the tier first and the shortlist writes itself.
There has never been a wider choice of 3D scanners in Malaysia, and there has never been more marketing noise around them. Point counts, laser line counts, lux ratings, “metrology-grade” stickers — none of it tells you whether a scanner will work on your parts, in your workshop, at the accuracy your customers expect.
This guide is the practical version we use in our own demos. It walks through the three decisions that actually determine the right machine, the three tiers available locally, what each tier costs, and the mistakes that cost buyers the most money. If you would rather have the scan than the scanner, skip to the last section — that is an honest option too.
What a 3D scanner actually does
A 3D scanner captures the shape of a physical object as a dense cloud of measured points, then the software turns that cloud into a mesh — a surface made of triangles. From there you either work on the mesh (3D printing, visualisation, archiving) or convert it into CAD surfaces for design work, or compare it against a CAD model for inspection.
What it does not do is measure like a coordinate measuring machine straight out of the box. A scanner’s headline accuracy figure describes the scanner under ideal conditions. What you get in your workshop depends on the whole chain: the scanner, how you set the part up, reference markers or photogrammetry for large parts, the software, and the person running it. Any guide that quotes one number and stops there is selling, not explaining.
The three decisions: 1) What am I scanning — size, material and finish? 2) Do I need to move to the part, or can the part come to a bench? 3) What accuracy does the downstream job actually require? Answer those and you have your tier.
Step 1 — Start with the object, not the scanner
Object size is the least glamorous question and the one that eliminates the most machines. The rule of thumb is simple: a scanner’s field of view and its ability to keep track of position are what limit object size, not its price.
Object
What works
What to watch
Small parts — coins, dies, connectors, dental models (under 300 mm)
Desktop structured-light scanners with a turntable, or a handheld with a small field of view
Resolution on fine detail; a turntable makes repeat scans much faster
Medium parts — housings, castings, moulds, consumer products (300 mm to 1 m)
Handheld laser or structured light, marker-free where possible
Marker placement time; shiny or black surfaces
Large parts — vehicle bodies, boat hulls, tanks, airframes (over 1 m)
Handheld with photogrammetry or VPG, or a tracked system
Accumulated error over distance; you need global reference, not just a fast scanner
Installed or immovable assets — machines, pipelines, plant
Wireless handheld, or a tracked system on a tripod
Cables and mains power; on-site workflow and reporting
Surface matters just as much. Black, glossy and machined metal are the classic enemies of 3D scanning because they either absorb light or reflect it away. The old answer was to spray the part with matting agent — slow, messy, and unacceptable on a customer’s finished component. Hybrid light sources now handle most black and reflective surfaces without spray, and that alone is worth asking about in a demo.
Finally: do you need colour? A scanner with an RGB or high-megapixel texture camera captures surface colour along with geometry — useful for heritage recording, art, texture-rich products and VR. If all you need is geometry for CAD or inspection, you do not need to pay for it.
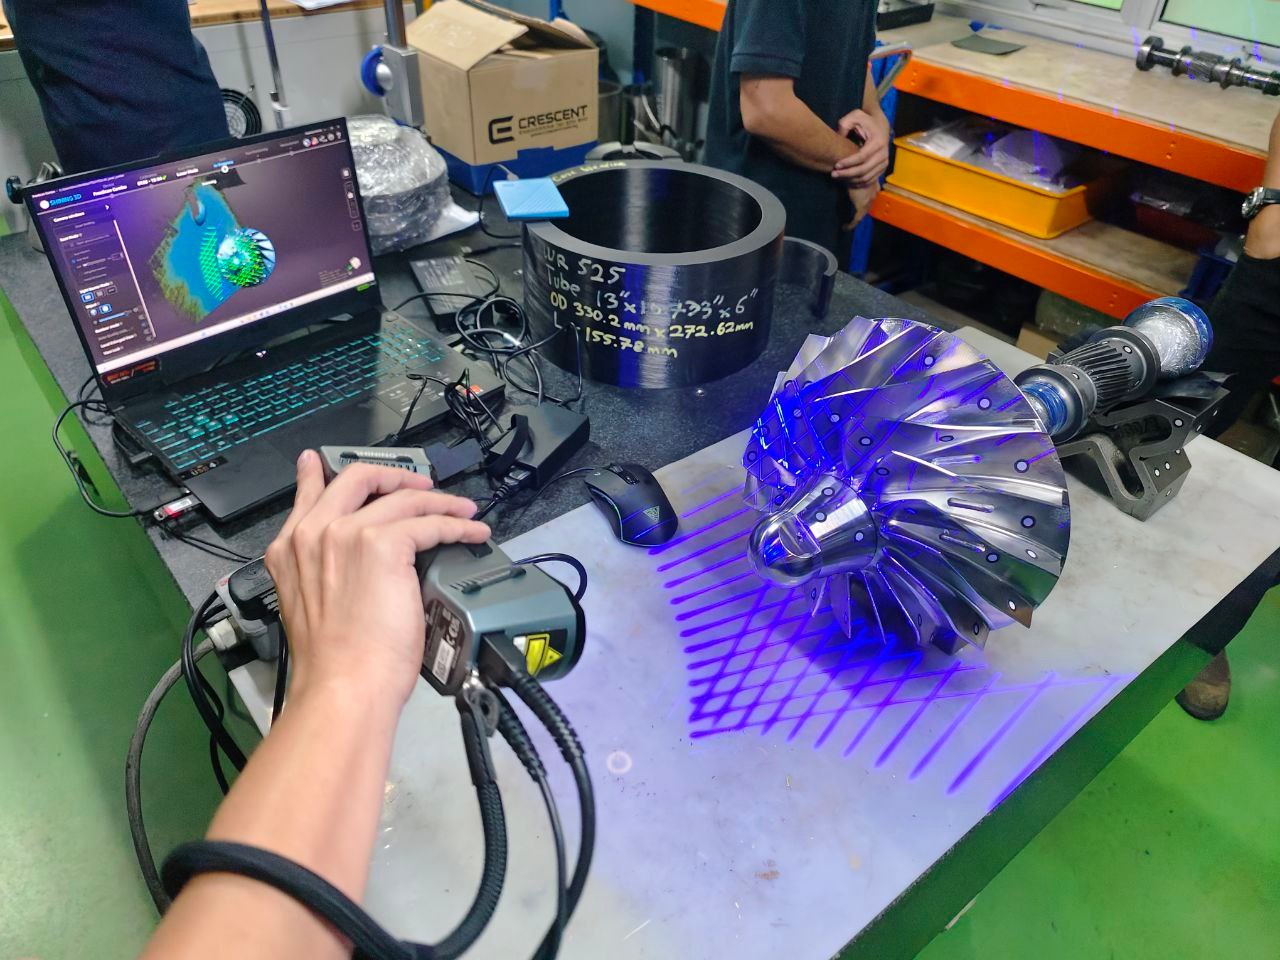
A bench part captured with a handheld laser scanner — the mesh builds live on screen while the laser lines sweep the surface.
Step 2 — Handheld, desktop, tracked, or mobile?
The form factor decides where you can work, which in practice decides whether the scanner gets used or sits in a cupboard.
Type
Best for
Trade-off
Desktop structured light with a turntable
Small to medium parts, volume scanning, dental and jewellery labs, production QC
The part has to fit the chamber; not portable
Handheld laser
Medium to large parts, black and reflective surfaces, deep pockets and ribs, reverse engineering
Needs a stable tracking reference; marker prep on some machines
Handheld structured light
Fine detail, colour texture, faces and bodies, small objects at close range
Harder on shiny or dark surfaces; slower over large areas
Tracked systems (optical tracker + handheld)
Large parts with tight tolerances, repeated inspection of the same assembly, dynamic measuring
Higher cost; the tracker needs line of sight
Mobile / SLAM scanning
Rooms, buildings, plant, site documentation where centimetre-level accuracy is enough
Not an inspection tool — don’t confuse it with metrology. Our SHARE SLAM series covers exactly this work
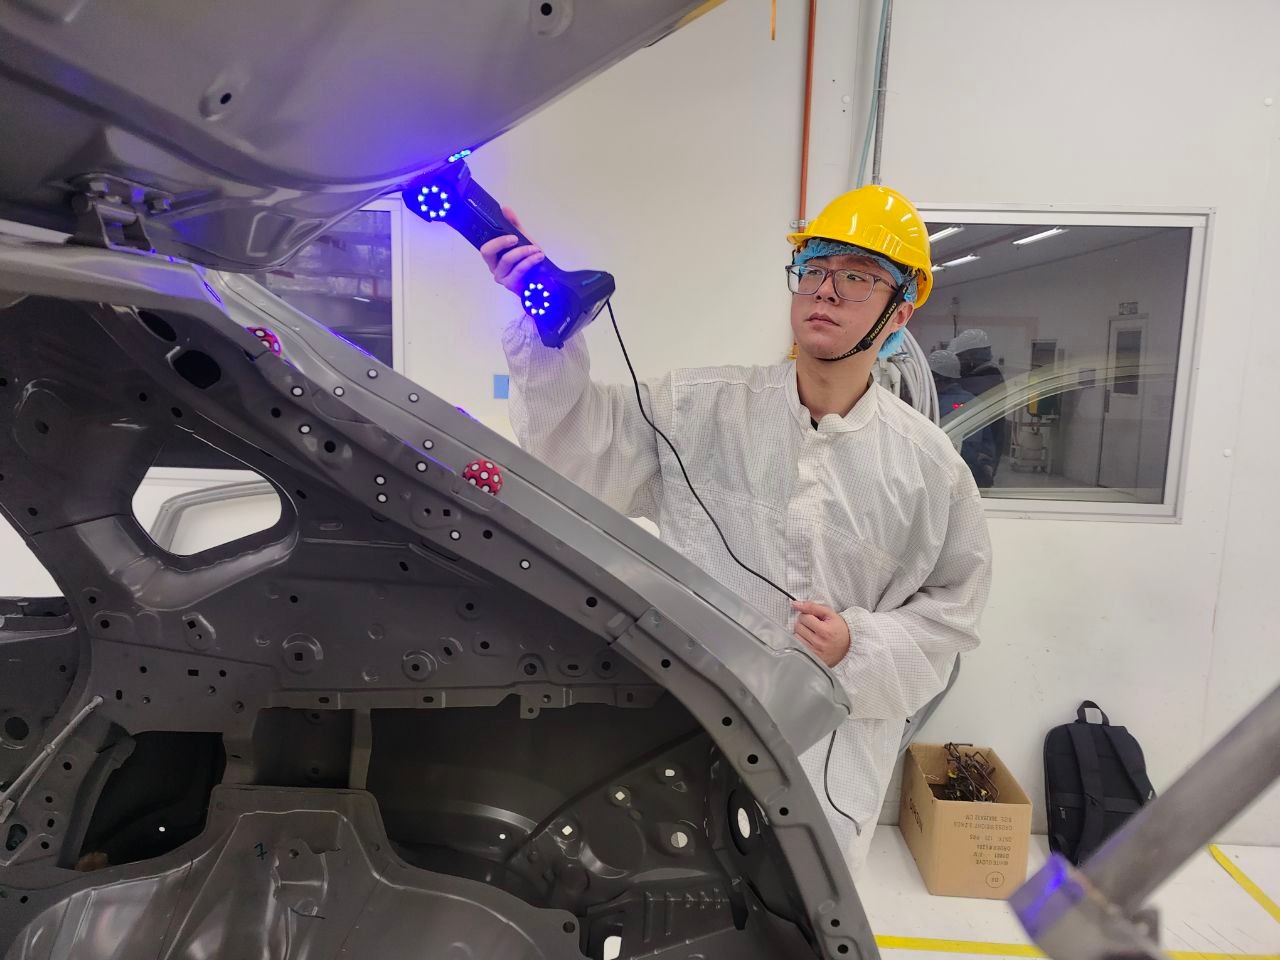
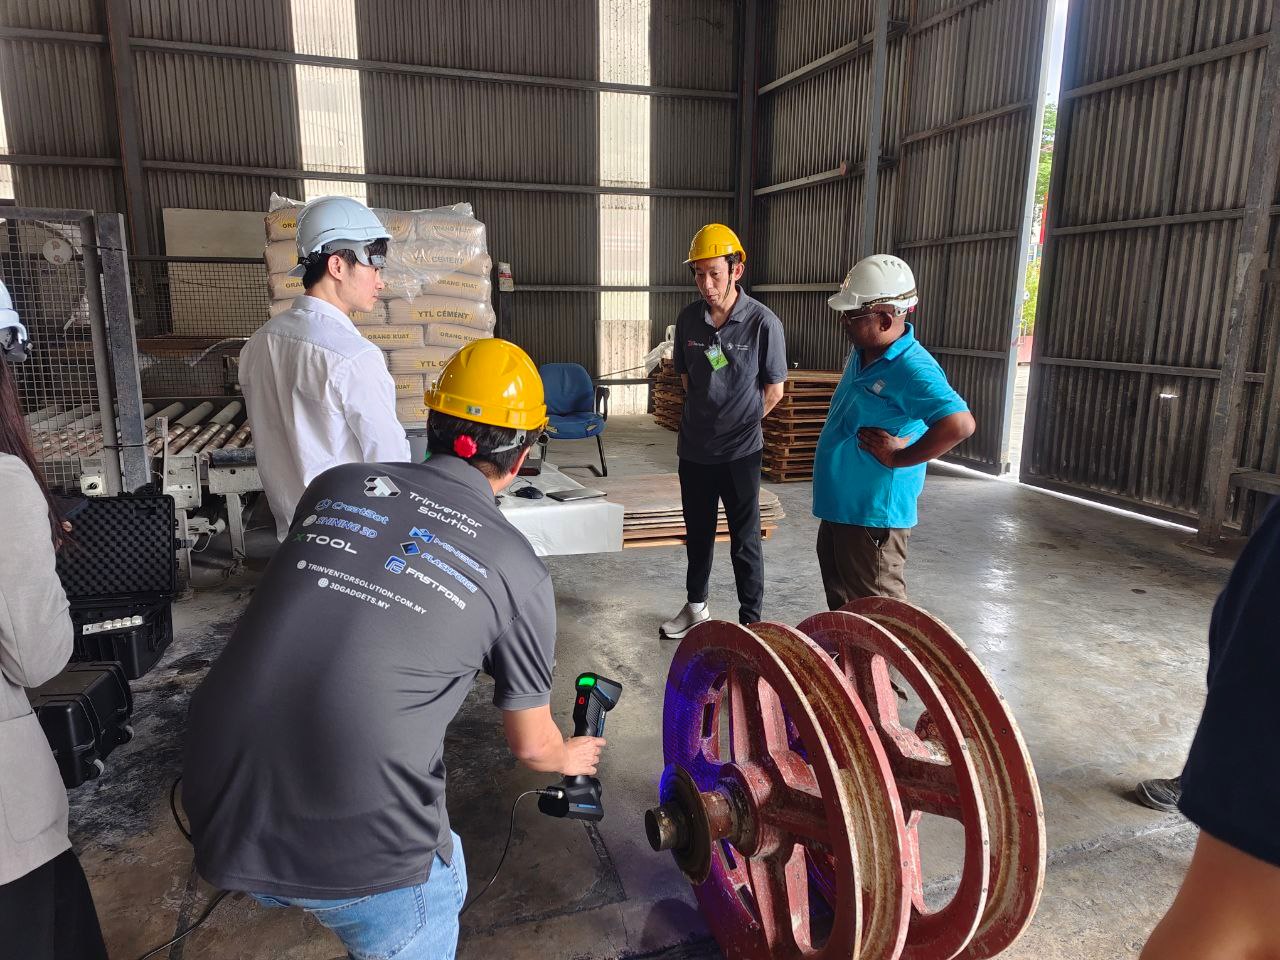
The scanner goes to the part: a large cast-iron wheel measured on site, where it sits — no dismantling, no transport.
Step 3 — How much accuracy do you actually need?
Buyers routinely over-buy here. A scanner ten times more accurate than the job needs costs several times more, demands a better setup, and needs an operator who understands metrology. Match the tool to the tolerance.
Job
Typical accuracy needed
Realistic tier
Art, heritage, body scanning, visualisation, 3D printing
0.1 mm is plenty
Professional handheld
Reverse engineering, scan-to-CAD, design work
0.03 – 0.1 mm
Professional to metrology handheld
First-article and dimensional inspection, tooling checks
Metrology tier — tracked or high-precision structured light
Keep three numbers separate in your head: accuracy (how close a measurement is to the truth), resolution (how small a feature the scanner can see) and volumetric accuracy (how much error accumulates over a large object). A scanner can be excellent on the first and mediocre on the third.
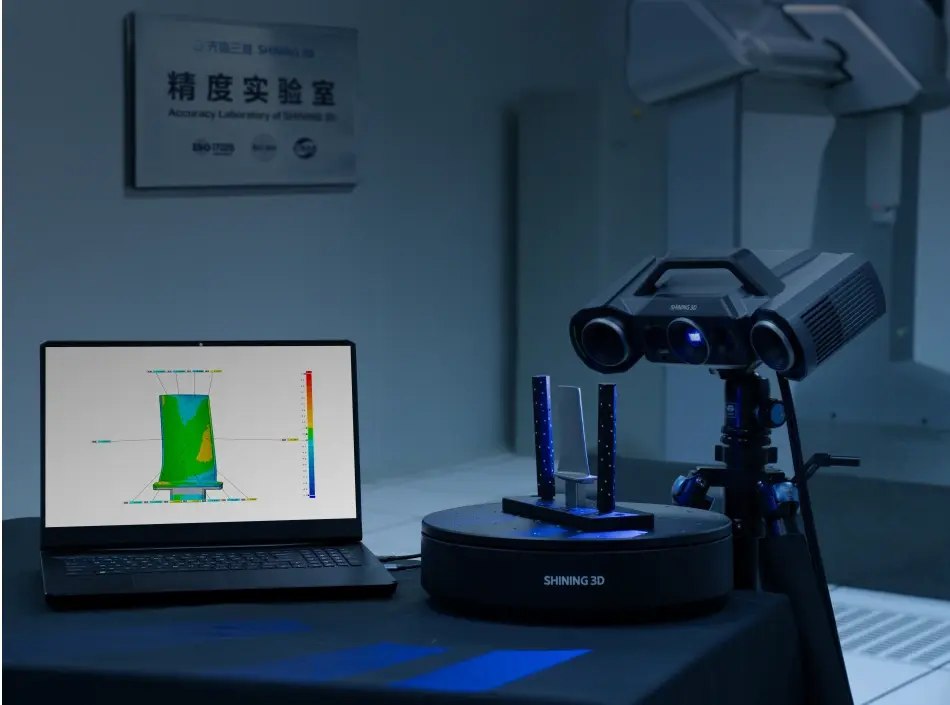
What accuracy looks like as an output: a colour deviation map against CAD, produced in a controlled accuracy laboratory.
The three tiers available in Malaysia
Our range splits cleanly into three tiers. Naming the tiers matters more than naming a winner, because two buyers with different jobs should leave with different machines.
Tier
Who it is for
Typical machines
Metrology
QC departments, certified inspection, large assemblies, automated measurement — and most engineering work: mould and die, automotive and aerospace suppliers, where the tolerance has to be proved
Engineering workshops, mould and die, automotive and aerospace suppliers whose accuracy requirement is not as tight, plus design and heritage studios, medical and orthotics
Two things separate the tiers in daily use. The first is marker strategy: entry-level machines lean on features and texture to track position, while metrology machines track against a photogrammetry framework or an optical tracker so accuracy holds over metres, not centimetres. The second is wireless, standalone operation — a scanner that processes on board and runs on swappable batteries is a different tool on a roof, in a hangar or under a machine.
Match the job to the machine
If your job is…
Start looking at
Scanning black or chromed parts without spraying
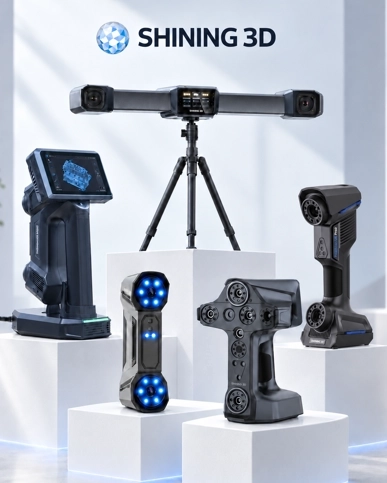
Hybrid laser scanners such as FreeScan Combo+ Wireless or FreeScan Trio
Fine detail on small, intricate parts at volume
Structured light — OptimScan Q12 or AutoScan Inspec2 for automation
Large parts with a photogrammetry framework
FreeScan Trio (marker-free, 98 laser lines) or FreeScan UE Nova
Inspection where the report is generated on site
FreeScan Omni — standalone scan-to-inspect with a PTB-certified module
Repeated measurement of the same large assembly
Tracked systems: FreeScan Trak Pro2 (ISO 17025 accredited) or Trak ProW
Faces, bodies, orthotics and prosthetics
EinScan H2 for texture, EinScan Medixa for O&P workflows
Colour, texture and heritage recording
EinScan Libre where the colour and texture have to be first class, or EinScan H2 for faces and bodies
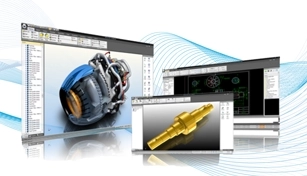
Software, and the licence model. Scan-to-CAD and inspection are different tools. Ask what is included, what is subscription, and whether it runs on a normal Windows machine.
A computer that keeps up. High-resolution scans generate large point clouds; a mid-range machine with a decent GPU is usually enough for handheld work, but check the requirement for the software you plan to use.
Calibration and traceability. If you sell inspection results, ask how the machine is calibrated and what certificate you get — and whether the accuracy claim is verified against a standard such as VDI/VDE 2634 or ISO 10360.
Training. Two days of proper training is the difference between a scanner that pays for itself and one that gets blamed. Budget for it.
Local support. Consumables, repairs and calibration are all simpler when the supplier is in the country. Ask who fixes it and how long that takes.
How pricing works in practice
Professional and metrology scanners are quoted per configuration. The price follows the accuracy class and the measuring volume you need, the software your workflow depends on, and the calibration and training package that comes with the machine — not a long list of extras. Most of what makes a system suit your parts — the turntable, the probe kit, the tripod — is included in the package.
We quote on request rather than publish a headline figure that would not survive contact with your scope, and we will say plainly when a machine is over-specified for the tolerance on your drawing. If the demand is occasional, buying scans rather than a scanner is usually the better financial decision — see how our scanning service is priced.
Buying a scanner vs buying the scan
If your demand is occasional, or your parts are large enough that the scanner would sit idle for months, buying the scan is usually the better financial decision. There is no capital outlay, no training, no calibration cycle, and no software to keep current — you send us the part and receive the files in the format your next step needs.
Our 3D scanning service covers on-site scanning across Malaysia as well as in-house work, and the deliverables page sets out exactly what you receive: mesh files, CAD-ready surfaces, inspection reports or colour models. If you want to see the difference before deciding, the practical test is to send one real part and judge the output — more on that below.
Five mistakes buyers make
Buying accuracy they cannot use. A 0.005 mm scanner in a workshop without temperature control, proper fixturing or a trained operator produces 0.05 mm results and a frustrated owner.
Ignoring surface finish until after delivery. If your parts are black, glossy or chrome, confirm spray-free performance with your own samples.
Forgetting the software budget. The scanner is the hardware; the work happens in the software.
Choosing on point count. Millions of points per second mean nothing if the scanner cannot hold position over a two-metre part.
Skipping the demo. Every serious supplier will scan your part. If they will not, that is your answer.
How to test before you buy
Bring one part that represents your hardest job — the black one, the shiny one, the one with deep pockets. Ask for it to be scanned in front of you, then ask for the mesh and a comparison report against your drawing or CAD model. Judge three things: how long the setup took, how the mesh handled the difficult surfaces, and whether the report is something you could send to a customer.
We run these demos in person or over a video call, and we will tell you plainly when a cheaper machine, or our service instead of a purchase, is the right answer. That is the whole point of a buyer’s guide written by someone who has to support the machine afterwards.
Next steps
If you already know your object size, surface and accuracy requirement, the shortlist is short. Send us the details and we will narrow it to two machines and arrange a scan of your own part. If your work is occasional or the parts are awkward, start with the service instead — you can always buy later, once you know exactly what the data looks like.