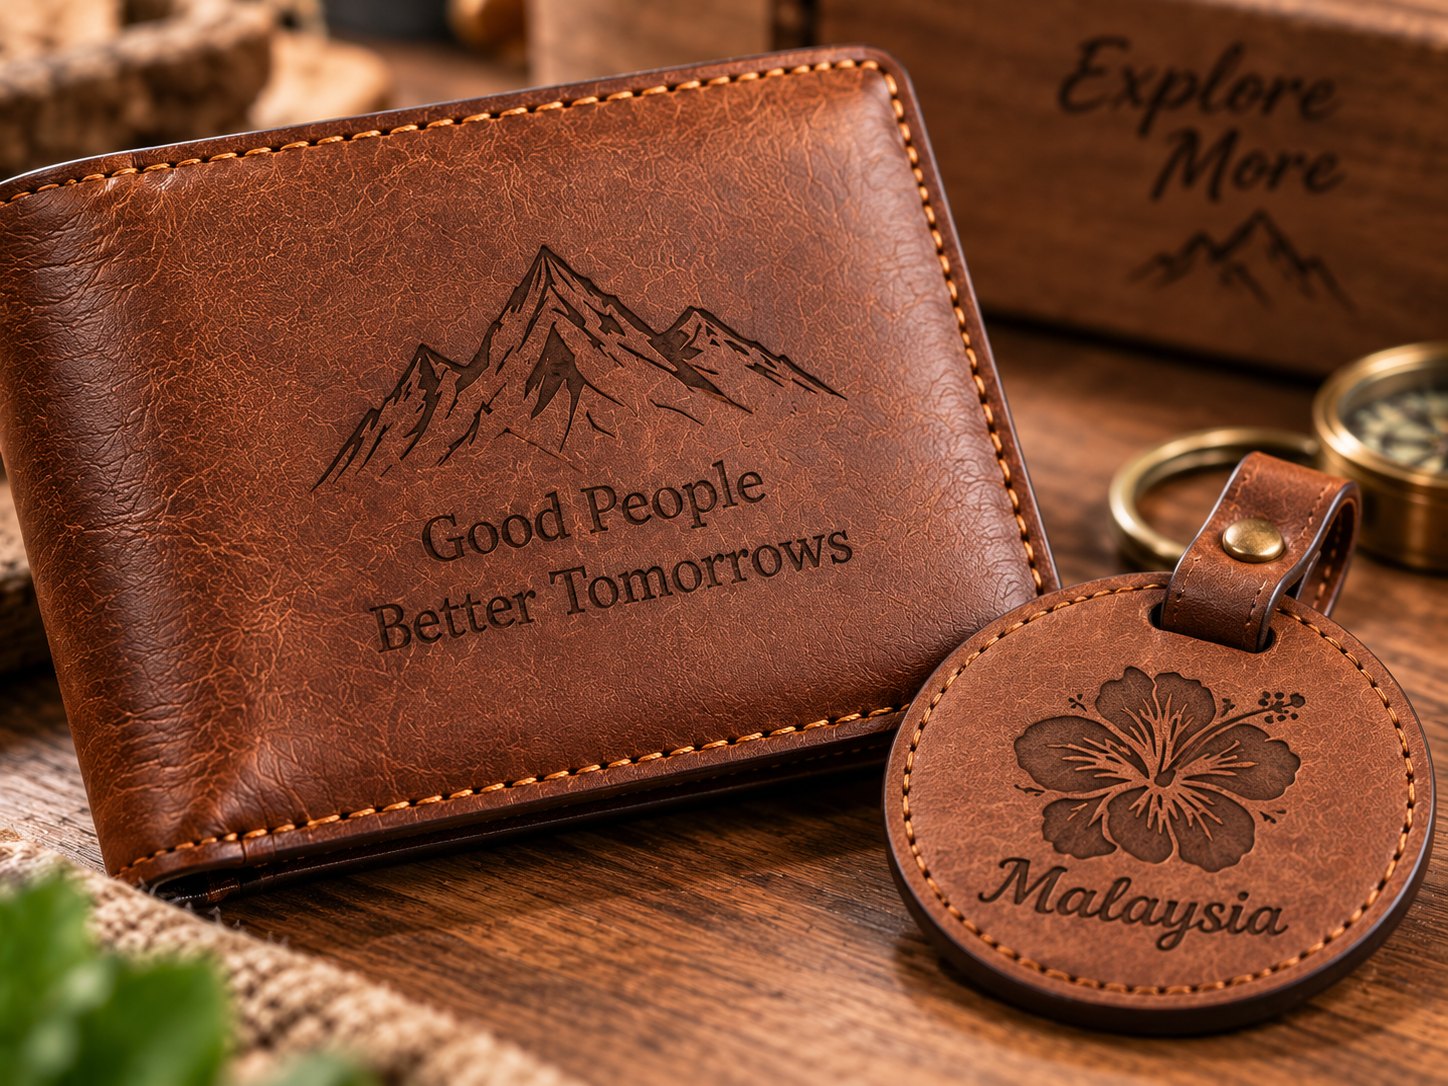
Quick verdict: Leather engraves beautifully with a CO2 laser. The trick is starting light and testing on scrap first, because every leather reacts differently.
Leather is one of the most rewarding materials to engrave — and one of the most common to ruin. Burn it too hard and you get a charred, crumbly mark; do it right and you get a clean, dark, premium engraving that makes a wallet or tag feel custom.
Here’s how it’s done.
Why laser for leather
Consistent — the same logo, the same depth, every time.
Fast — a logo engraves in seconds.
Fine detail — intricate logos and small text that hand stamping can’t match.
No tooling — no stamps or dies to make.
The right machine
Leather engraves best with a CO2 laser at moderate power, or a diode laser for lighter work.
Machine
Fit
xTool P2S (CO2)
Clean engraving on wallets, belts, tags and panels
xTool F2 Ultra (60W fiber + 40W diode)
Fine, controlled engraving on thinner leather
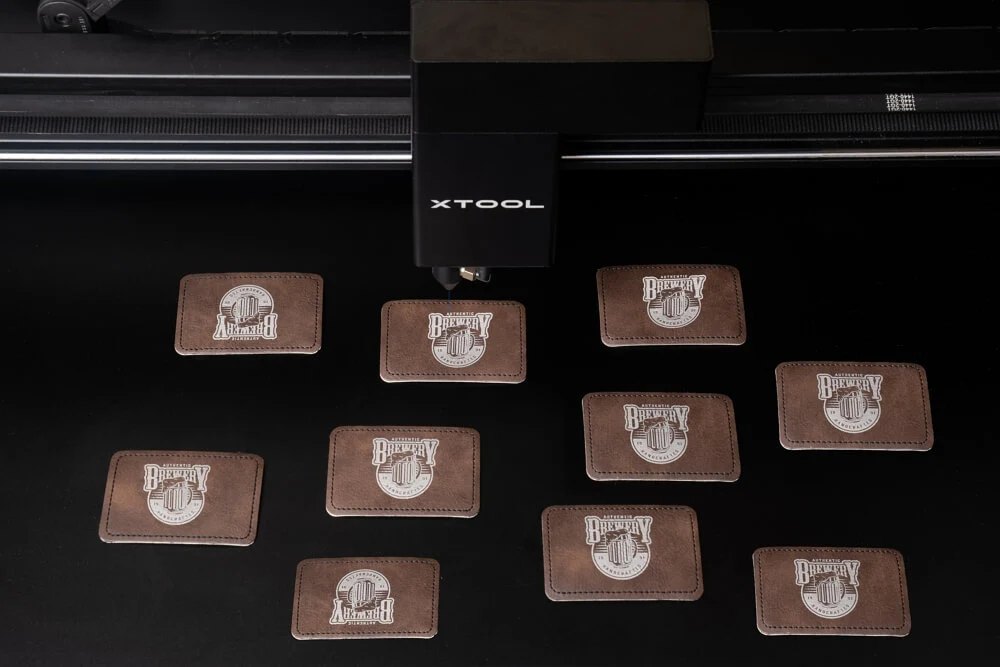
The P2S is the standard choice for leather — its CO2 laser produces clean, dark marks with good speed.
Settings that work (start here, then test)
Leather varies by type and tanning, so treat these as a starting point, not a rule:
Vegetable-tanned leather — engraves cleanly with a dark mark.
Chrome-tanned / finished leather — engraves shallower; test first.
Lower power, faster speed — darken the mark in passes rather than one heavy burn.
Air assist on — keeps the cut edge clean and reduces charring.
The rule of thumb: start light and test on scrap. Every leather reacts differently, and a two-minute test saves a ruined wallet.
Leather types behave differently under the beam
Two pieces of leather that feel the same can engrave very differently. Vegetable-tanned (veg-tan) leather takes the beam well and gives a dark, clean mark. Chrome-tanned, finished and painted leathers are denser at the surface, so the mark sits shallower and can discolour instead of darkening.
PU and synthetic leather has a plastic top layer that bubbles rather than chars. Settings never transfer neatly from one hide to the next, so test every new supplier and colour.
Depth, contrast and the limits of a laser mark
An engraving on leather is a controlled burn. It darkens the surface and can sit a little way into it, but it is not a die. It will not raise the leather or press a relief into it the way a heated stamp does, and it leaves none of the smooth floor of a debossed border.
What you sell is visual: permanent contrast, fine detail and small text that hand stamping struggles to match. Logos, names and dates are exactly the marks customers ask for.
Grain, finish and the mark left behind
The engraved area feels matte and slightly rougher than the grain around it, and burn residue sits in and around the mark. On light-coloured leather this shows badly, so wipe the piece clean yourself rather than leaving it for the customer.
Masking with transfer tape keeps soot off the surrounding surface and holds thin, curling leather flat while it runs. Natural veg-tan gains the most; dark, finished hides show far less. Check stitched edges for smoke staining on the thread.
What sells
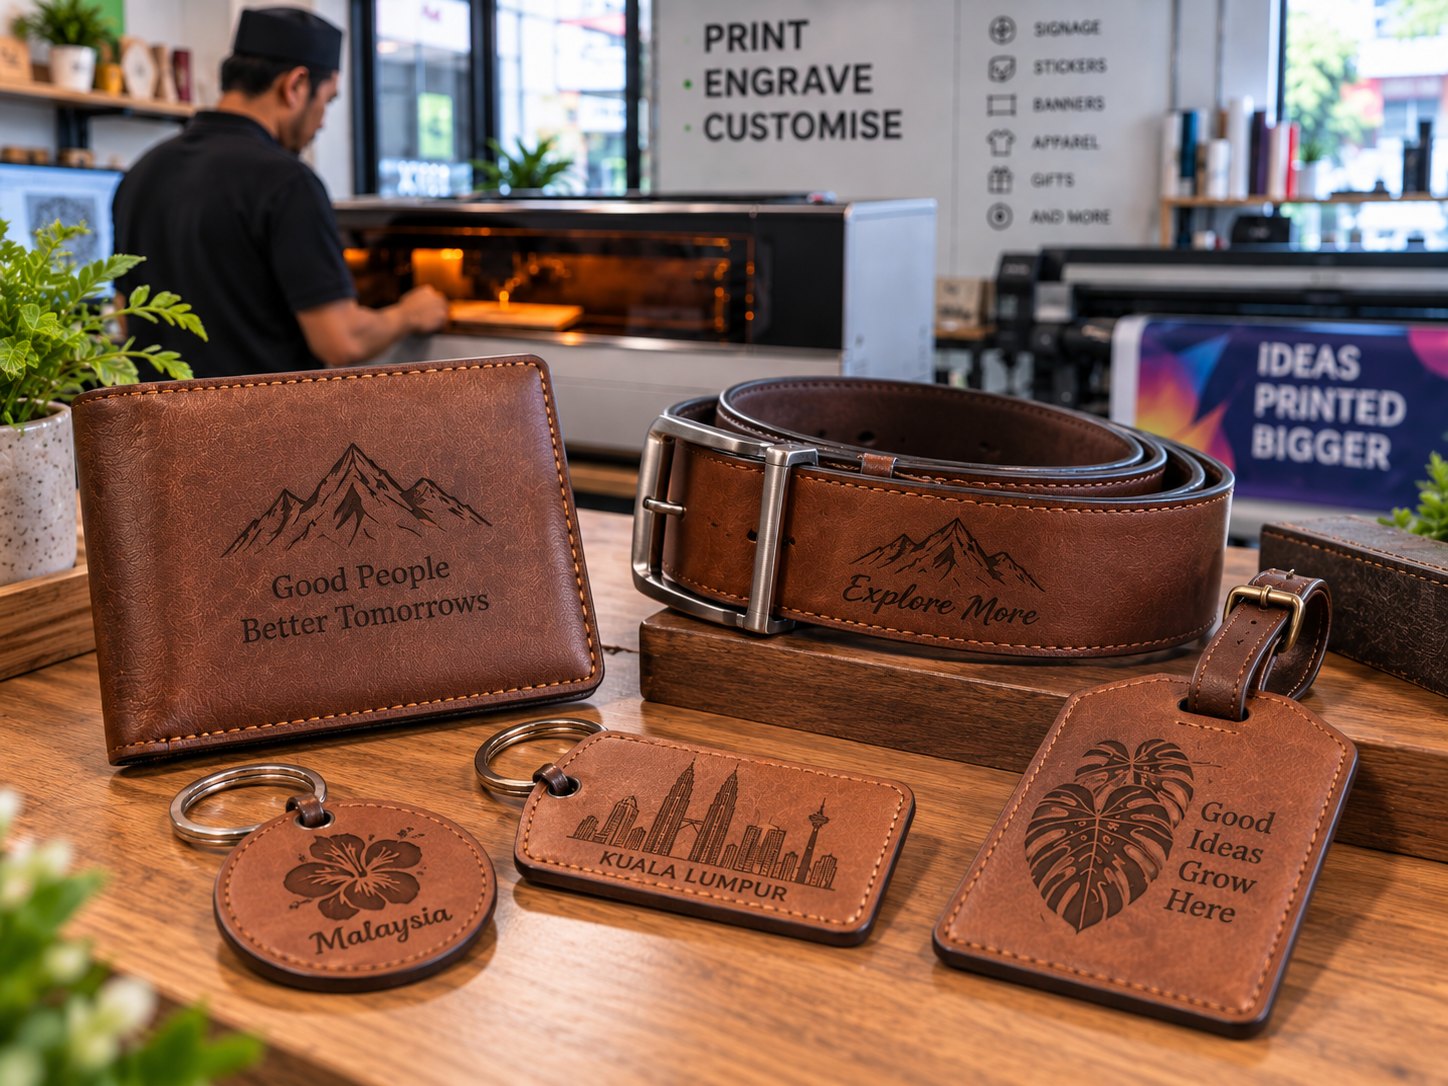
Branded wallets and belts — custom logos for boutiques and labels.
Leather tags and keychains — premium branding for products.
Corporate gifts — monogrammed leather goods.
Batching and repeatability
Placement is the hard part on soft goods, not power. A blank shifts, a strap curls, a tag never sits quite where you left it. A honeycomb bed gives you something to pin the piece against, and a jig cut from acrylic or card holds a repeated shape in the same spot run after run.
Decide early whether you engrave before or after assembly. Flat panels are easier to align and easier to redo before stitching.
Fumes, extraction and what not to burn
Engraving leather produces smoke, fumes and fine particulate, so extraction or filtration belongs on the machine from the first job. Some chrome-tanned leathers contain compounds you do not want to breathe once they are burnt.
Test waxed, oiled and unknown finishes on scrap with extraction running, and if a sample smells chemical rather than like wood smoke, ventilate harder and think again.
Once placement and settings are under control, the same setup covers luggage tags and passport covers for travel retailers, jewellery rolls for boutiques, and pet collars and leads where a name and phone number are useful. Event gifting sits in the same family: one shape, repeated with different names and dates.
For a first project, choose something thin and flat in a light veg-tan. Thickness and finish decide how forgiving the job is, so build confidence on a keyring before a wallet.
Test before you commit
Leather is cheap to test and expensive to get wrong. Bring a few scraps or a sample product to our showroom and we’ll dial in the settings on your material — you’ll see the exact finish you’d be selling.