Nylon 3D Printing: Properties, Settings and Applications
Nylon 3D Printing: Properties, Settings and Applications
Quick verdict: Nylon (PA) is the toughest of the common FDM materials. It bends under impact instead of cracking, shrugs off sliding wear, and bonds across layers better than PLA, PETG or ABS. The trade-off is fuss: it pulls moisture out of the air, it warps hard, and it needs high nozzle temperatures inside an enclosure. Dry it properly, enclose the printer and slow down, and you get functional parts that survive real service.
Nylon is the material you move to when PLA and PETG parts keep failing on the job. Hinges, clips, gears, machine guards, jigs and drone frames that get knocked about every day are all nylon territory. This guide covers what nylon is, how it compares with the other common filaments, the settings that work, the problems you will hit, and where it earns its place.
What nylon (PA) is and why it prints differently
Nylon is a family of polyamides, which is what the PA prefix on a spool stands for. Its polymer chains are held together by hydrogen bonds between amide groups, and that bonding explains almost everything useful about the material: high strength, large elongation before breaking, and strong resistance to repeated impact and sliding wear.
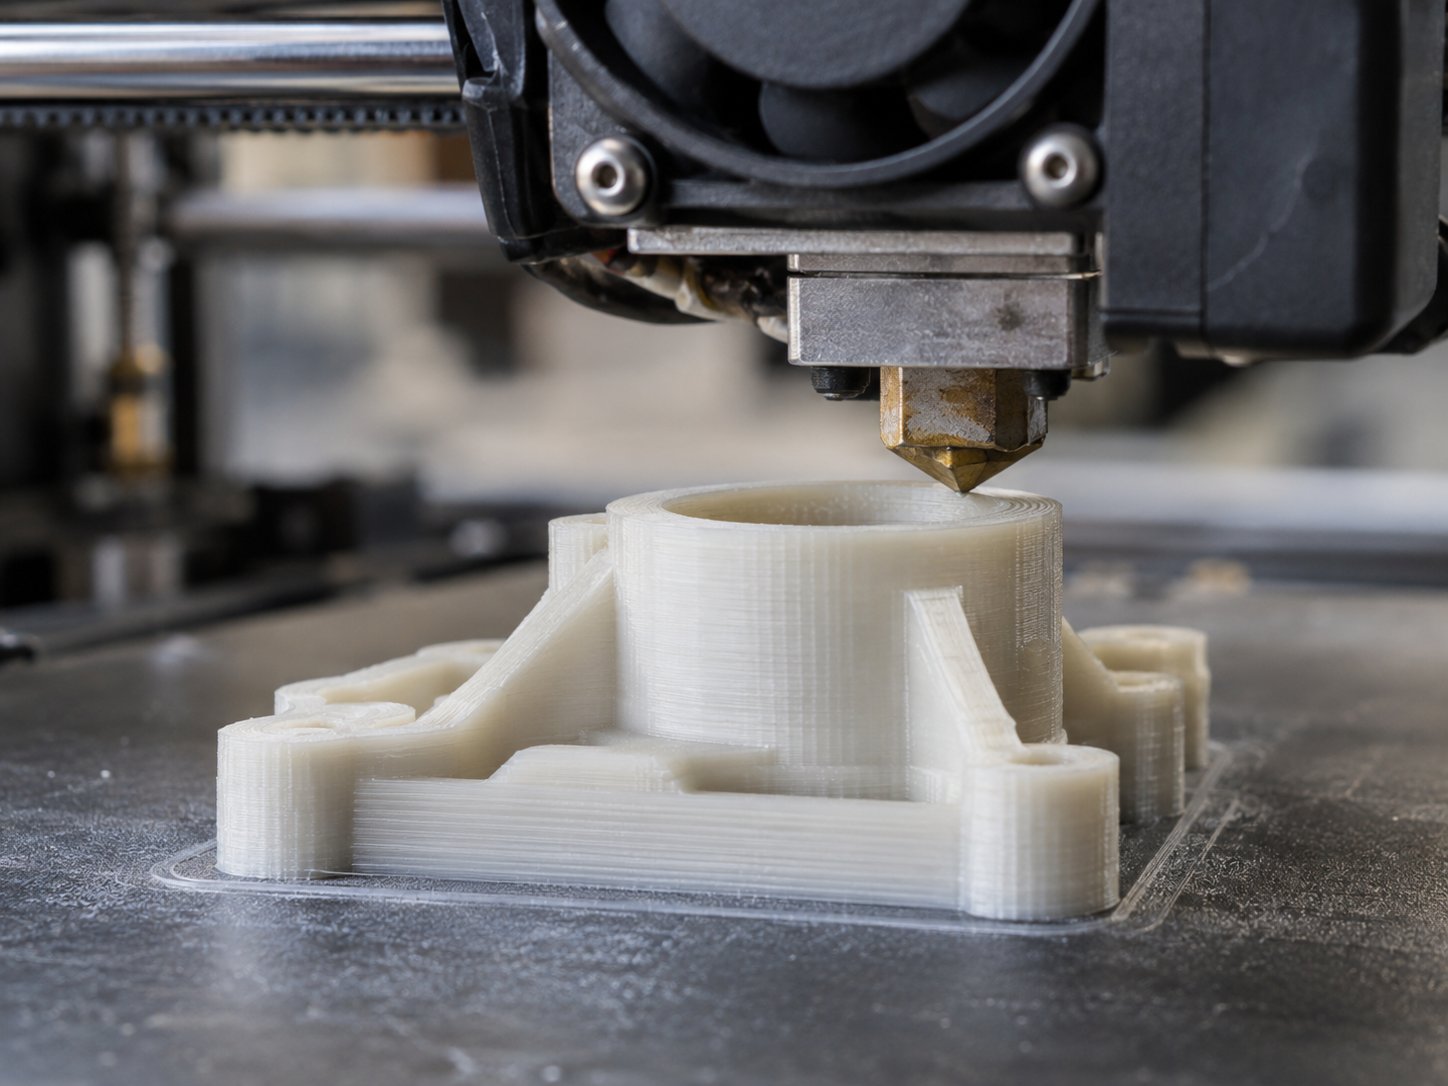
FDM changes one thing about how nylon behaves: the cooling rate. Injection moulding solidifies a part in seconds inside a hot tool. FDM lays down one strand at a time in open air, so each layer cools, crystallises and shrinks before the next lands on top. That shrinkage pulls the part inward, lifts corners off the bed and sets up stress between layers. Almost every practical rule for printing nylon follows from it: keep the part hot, keep the air still, print slower than you would with PLA, and keep the filament dry.
Key properties of printed nylon
Toughness. Nylon absorbs energy by bending. An overloaded nylon bracket will usually deform and stay in one piece rather than shatter, which is why it is chosen for parts that take knocks.
Abrasion resistance. It stands up to sliding contact far better than PLA or PETG, so it works for wear strips, rollers, bushings and guides.
Layer adhesion. Because nylon prints hot and stays warm, adjacent strands fuse properly. Parts are far less likely to split along layer lines than the same geometry in ABS or PLA.
Fatigue resistance. It tolerates repeated flexing, which makes snap fits, living hinges and clips practical rather than fragile.
Low friction. Dry-running bearing surfaces are realistic without lubrication, though a filled grade is better where loads are high.
Chemical resistance. Nylon resists oils, greases, fuels and many solvents. It is not a material for strong acids or long-term exposure to some alcohols and phenols.
Heat. Usable well above PLA, but it softens under sustained load sooner than its melting point suggests. Treat it as a warm-environment material, not a high-temperature engineering plastic.
Moisture sensitivity. This is the big one. Nylon absorbs water from the air, and absorbed water changes both how it prints and how it measures. Parts can grow slightly after printing as they take on room humidity.
Weathering. Untreated nylon degrades under long-term sunlight. Indoors, or protected by paint or a stabilised grade, it is fine.
How nylon compares to ABS, PETG and PLA
Property
Nylon (PA)
ABS
PETG
PLA
Tensile strength
High
Medium to high
Medium
Medium
Impact behaviour
Excellent, bends before breaking
Good
Moderate
Low, brittle
Abrasion resistance
Excellent
Moderate
Moderate
Low
Layer adhesion
Excellent
Good
Very good
Moderate
Heat resistance
Good, holds up better than PLA under load
Good
Moderate
Low
Typical nozzle temperature
250 to 280 °C
240 to 260 °C
230 to 250 °C
195 to 215 °C
Typical bed temperature
80 to 100 °C
90 to 110 °C
70 to 85 °C
50 to 60 °C
Enclosure
Strongly recommended
Recommended
Not required
Not required
Warping tendency
High
High
Low
Low
Moisture sensitivity
High, must be dried
Low to moderate
Moderate
Low
Chemical resistance
Very good against oils, greases and fuels
Moderate
Moderate
Poor
Best fit
Working mechanical parts
Enclosures and housings
Water and chemical contact parts
Models and display parts
Read the table as a trade: nylon wins on mechanical performance and loses on convenience. If a part only has to sit on a desk, PLA is faster and cheaper; if it has to work, move or get hit, nylon wins.
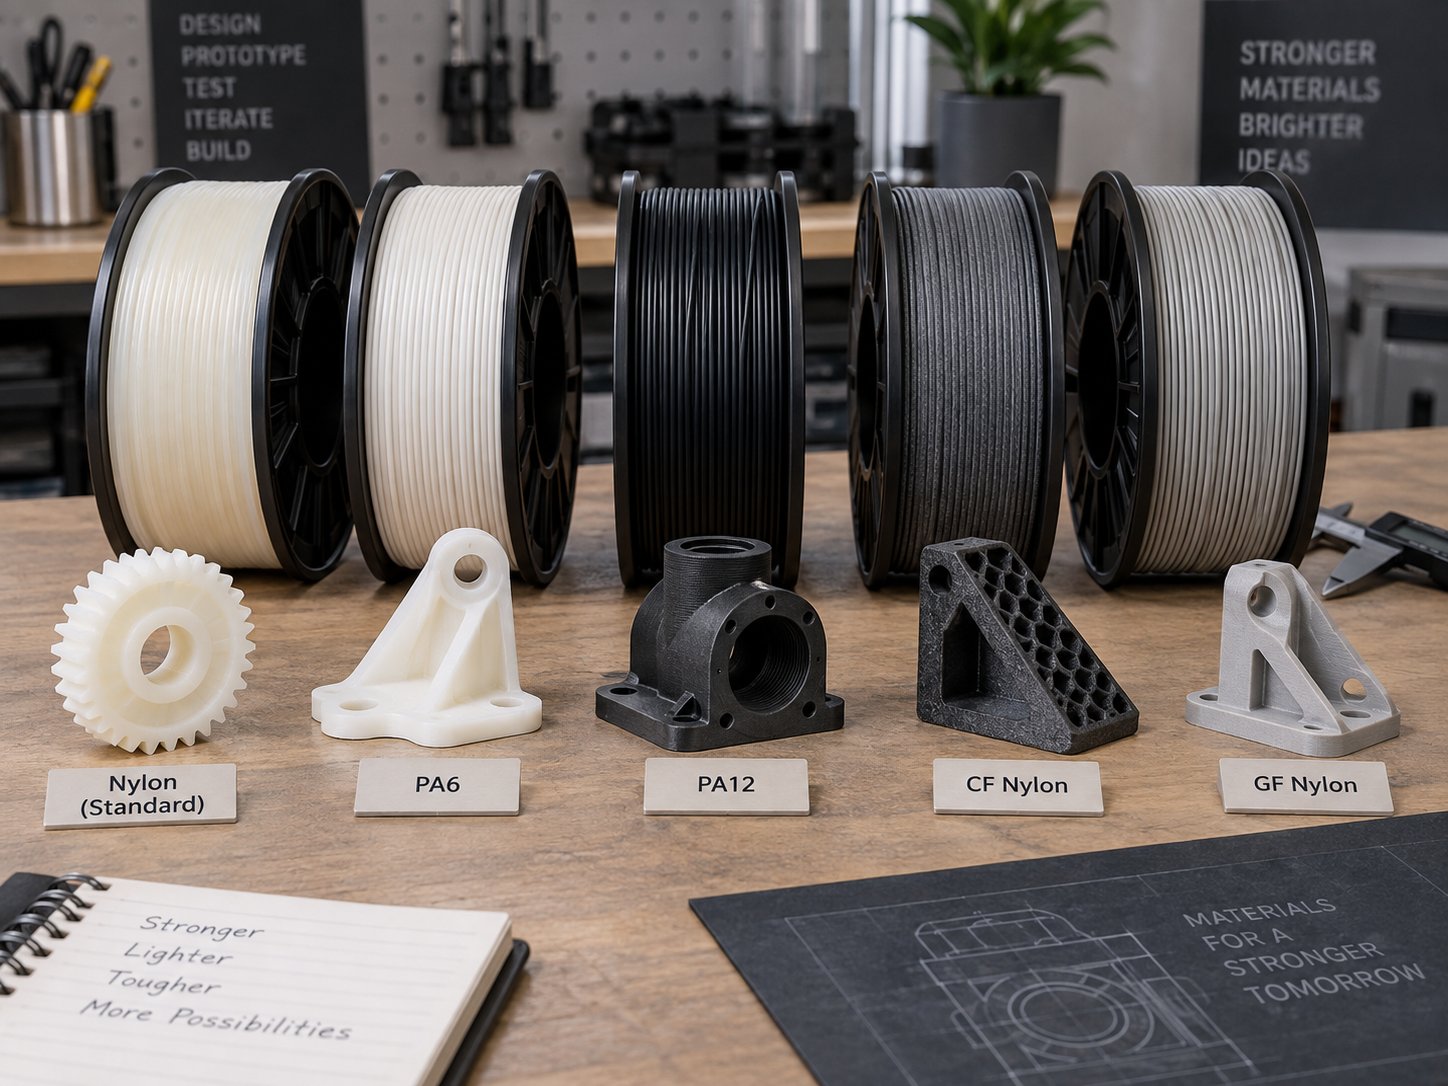
Standard nylon, PA6, PA12 and the carbon fibre and glass fibre filled grades: the same family, very different stiffness, wear and dimensional behaviour
The nylon family: PA6, PA12, PA11 and filled grades
Filament sold as “nylon” can be several different polyamides, and the differences matter when specifying a part.
PA12
The most common grade for filament printing and the easiest of the three to live with. It takes on less moisture, warps less aggressively than PA6 and holds dimensions more predictably, which makes it the sensible starting point for newcomers.
PA6
Stronger and stiffer, with a higher melting point and better heat performance. It is also more moisture hungry and more prone to warping, so it wants a hot chamber and a dry box on the printer. Most glass and carbon filled grades are built on a PA6 base.
PA11
Made from a plant-derived feedstock. It is the most ductile of the common grades, with high elongation and good impact behaviour, which suits parts that flex or take repeated shock.
Filled and reinforced grades
Chopped fibre changes the material considerably. A carbon fibre mix raises stiffness and reduces the shrinkage that causes warping, giving flatter, more dimensionally stable parts. A glass fibre mix adds stiffness and heat deflection at lower cost, with a slightly rougher surface. Both are abrasive, so they need a hardened nozzle. Remember that fibre also drops elongation: a reinforced nylon is stiffer but more brittle than the unfilled version.
Print settings that work
These are starting ranges, not fixed recipes. Every printer, hotend and filament batch behaves a little differently, so print a test coupon first and adjust from there.
Parameter
Starting range
Notes
Nozzle temperature
250 to 280 °C
Use the upper end for PA6 and filled grades, the lower end for PA12
Bed temperature
80 to 100 °C
Hot enough to hold the first layer down, not so hot that the base deforms
Chamber
Passive or actively heated
An enclosure that traps hot air is the single biggest improvement you can make
Print speed
30 to 60 mm/s
Slower than PLA. Fast printing cools each layer too quickly and weakens the bond
Part cooling fan
Off, or very low
Only turn it on for bridging and overhangs, and expect a strength penalty
First layer
Slow, 0.2 to 0.3 mm
A thick, slow, well squashed first layer anchors the part against warping
Nozzle material
Hardened steel for filled grades
Brass wears quickly once fibre is in the filament
Bed surface
Adhesion sheet or adhesive stick on a heated plate
Never print nylon straight onto bare glass or a cold plate
Filament drying
70 to 80 °C for 6 to 12 hours
Before every long print, and store the spool sealed with desiccant afterwards
Retraction and travel
Tune per printer
Nylon strings easily when it is wet; fix the moisture before chasing retraction numbers
Calibrate flow and temperature for each new spool with a temperature tower: pick the zone where the surface is clean, the layers are bonded and stringing is lowest. Expect the window to narrow once fibre is added.
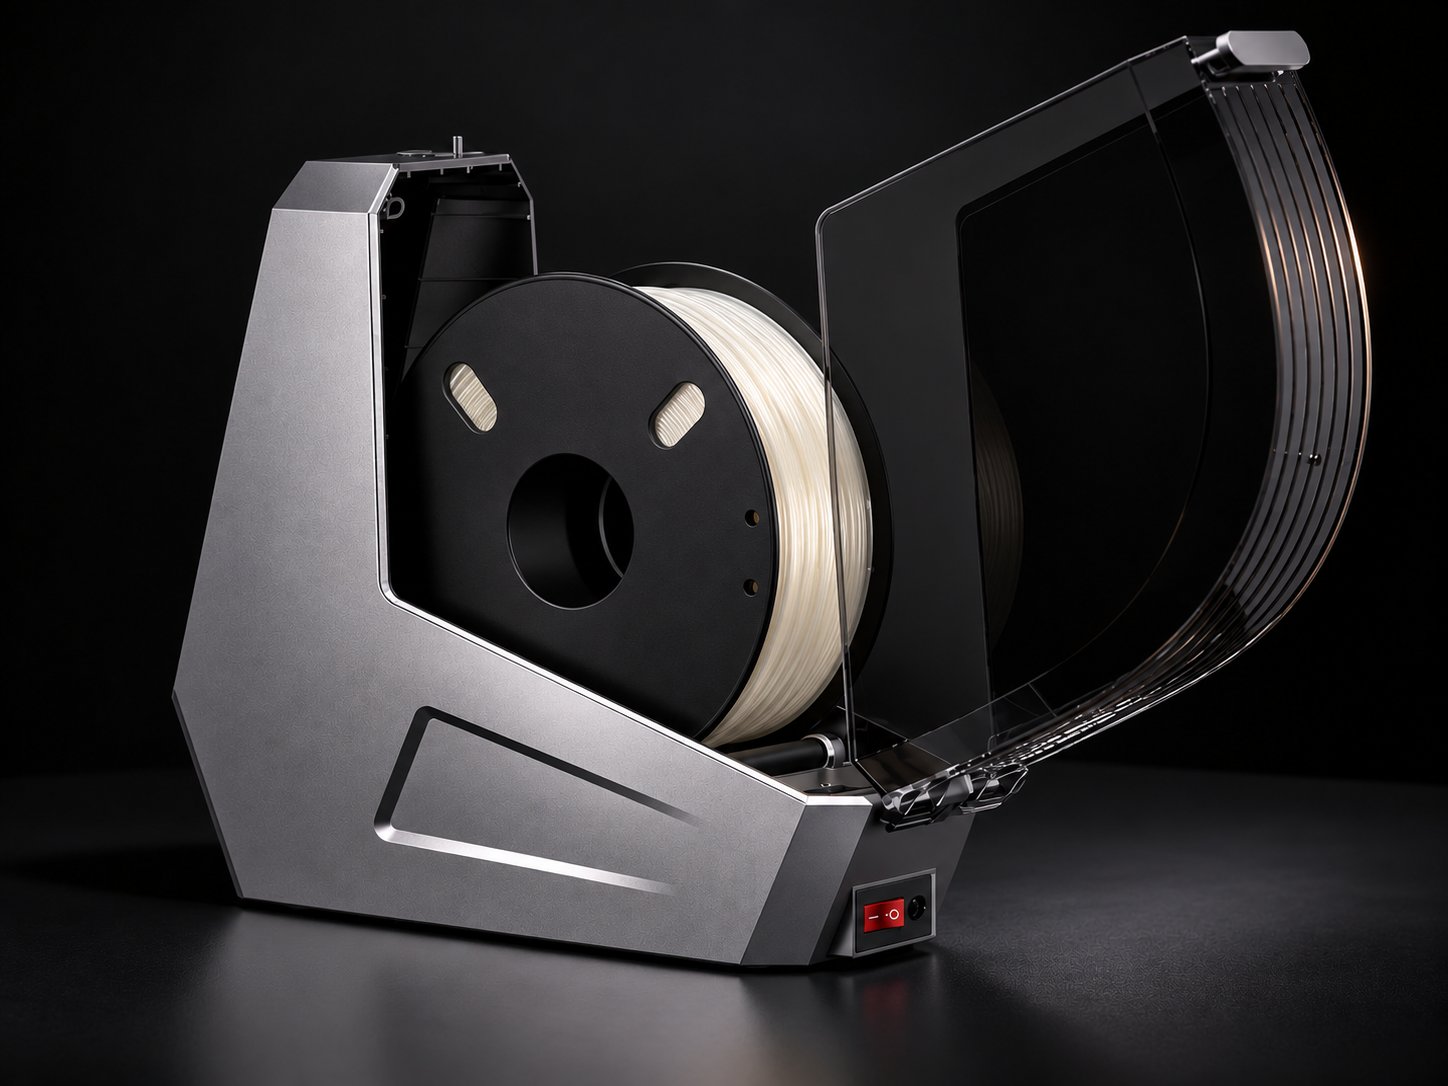
Nylon absorbs moisture from the air within hours, so drying immediately before a print is not optional
Drying nylon: the step most people skip
Nylon is hygroscopic, which means it pulls water vapour straight out of the air. In Malaysia’s climate that happens quickly, often within days of opening a sealed spool, and a spool left on an open printer overnight can absorb enough moisture to ruin the next print.
Wet nylon announces itself: hissing and popping at the extruder, steam at the nozzle, a rough cloudy surface, heavy stringing, and weak bubbly parts because the water turned to steam inside the melt.
The fix is straightforward. Dry the spool at 70 to 80 °C for 6 to 12 hours in a filament dryer or a controlled oven. Then keep it that way: store it sealed with desiccant, and for long prints feed it from a dry box rather than letting it sit exposed. Parts that have already absorbed moisture can be dried after printing too, which also helps them settle to final dimensions.
Bed adhesion, warping and the enclosure
Warping is the reason most first attempts at nylon fail. The material shrinks as it crystallises, and a large flat part gives that shrinkage a long lever to pull the corners up off the bed.
An enclosure does more than keep dust out. It holds the heat the bed and hotend produce, so the part cools slowly and evenly instead of being chilled by moving air. On a passive enclosure, keep the doors closed for the whole print and let the part cool inside it. An actively heated chamber holds a steady warm environment from the first layer to the last.
Beyond the chamber, three habits make the difference. Use a brim on tall or flat parts to widen the footprint. Add a slight chamfer on the bottom corners so the shrinking material has an easier path inward. Keep the part cooling fan off for the first layers so the base bonds hard to the plate. If a part is very large and flat, split it into two printed pieces that bolt together rather than fighting the warp.
Common problems and fixes
Problem
Likely cause
Fix
Popping, hissing, rough cloudy surface
Wet filament
Dry at 70 to 80 °C for 6 to 12 hours and print from a sealed dry box
Corners lifting off the plate
Fast cooling and no chamber
Enclose the printer, raise the bed temperature, add a brim, chamfer the bottom edges
Parts snap along layer lines
Moisture plus a nozzle temperature that is too low
Dry the spool, raise the nozzle temperature, reduce speed
Layers look fine but will not bond
Too much part cooling
Switch the fan off or down to the minimum needed for overhangs
Heavy stringing and wisps
Wet filament, not a retraction problem
Dry first, then tune retraction and travel
Part measures oversize a day later
Moisture taken up after printing
Store parts dry, or dry and measure them after they have settled
Nozzle wears and extrusion thins out
Abrasive fibre filler
Fit a hardened steel nozzle before printing filled grades
Extruder slipping or grinding
Heat creep or a partial clog from cooked filament
Check hotend cooling, clean the nozzle, keep the spool dry
Base of the part sags or mushrooms
Bed temperature at the top of the range with a long dwell time
Drop the bed temperature towards 80 °C
Thin walls and gaps in the shell
Inconsistent extrusion from moisture and unstable pressure
Dry the filament, recalibrate flow, add perimeters
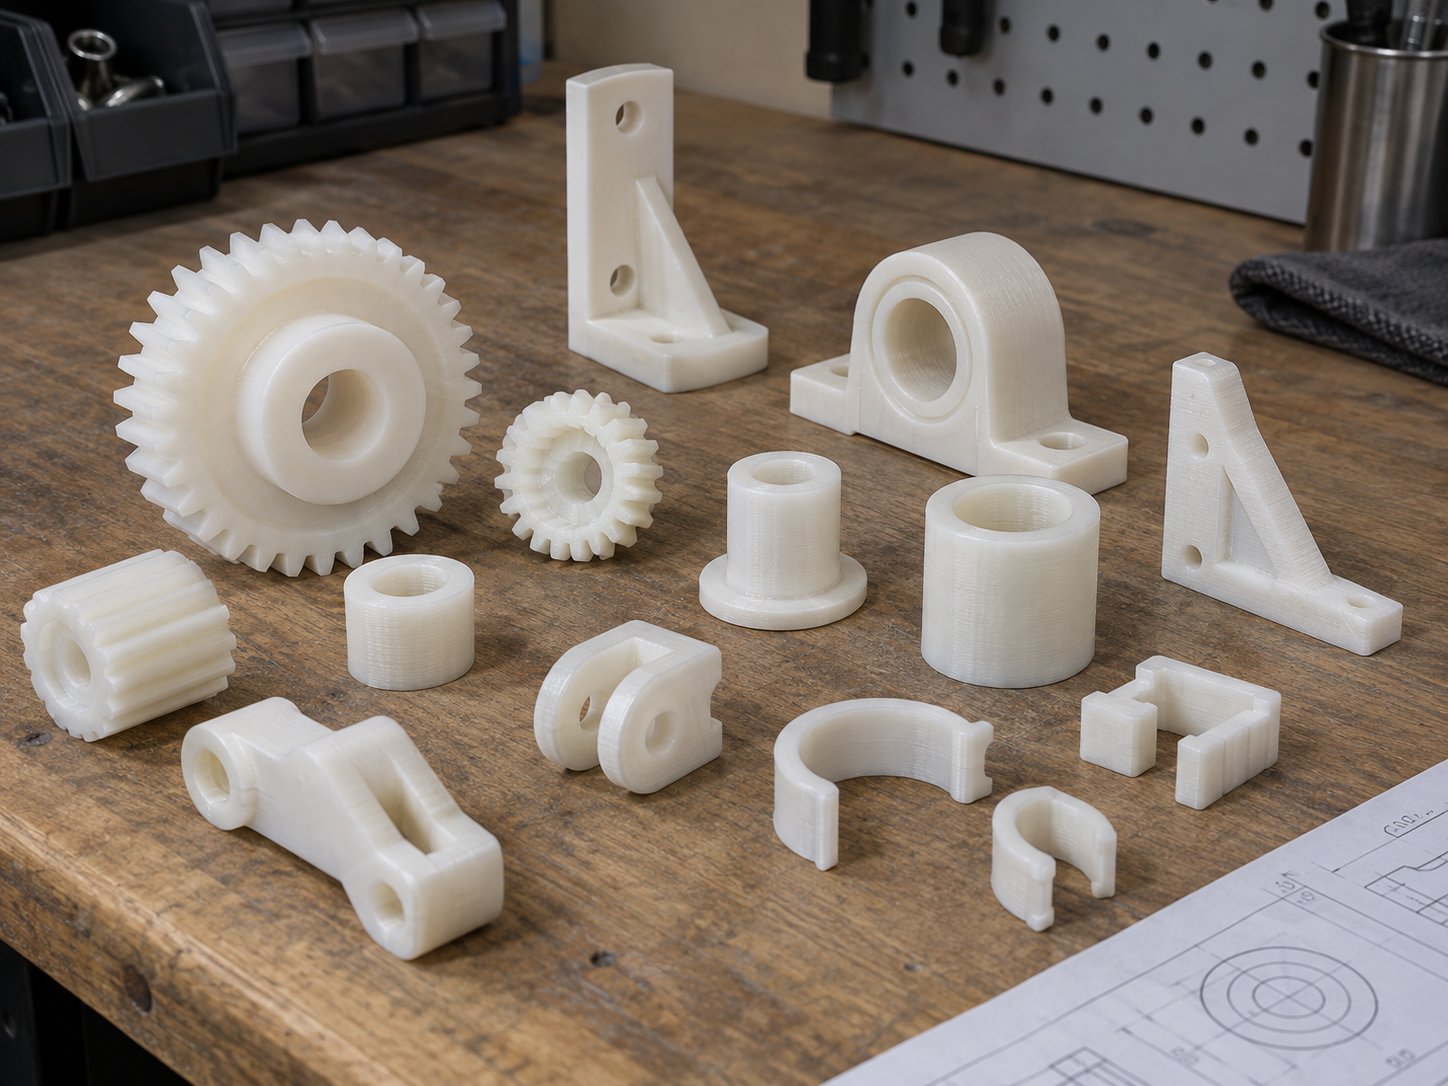
Nylon earns its place on parts that slide, take shock or run without lubrication: gears, bushings, clamps and brackets
Applications of nylon parts
Nylon fits anywhere a part has to work rather than just exist. Jigs and fixtures are the most common shop-floor use: locating blocks, clamps and assembly aids that resist wear and will not mark the parts they hold. Machine build is next, covering wear strips, conveyor guides, rollers, bushings, cable clips and guards.
Product businesses use it for snap-fit housings, hinges, brackets, levers and handles that survive repeated handling and field use. Robotics and automation teams print end-effector fingers, gripper pads and tooling that has to grip hard without damaging a finished surface. Automotive and motorcycle workshops use it for clips, spacers and under-bonnet brackets where impact tolerance matters more than extreme heat resistance.
When a spare part fails and no drawing exists, a reverse engineering workflow lets you scan the broken item, rebuild it as a solid model and print a working replacement in nylon. A handheld 3D scanner captures the geometry, and the printed part goes straight onto the machine. For legacy equipment, that can turn a long import wait into a next-day job.
Design rules for nylon parts
Design for layer direction. Nylon bonds well between layers, but it is still strongest in the plane of the extrusion. Orient the part so the main load runs along the layers rather than trying to peel them apart.
Round every inside corner. Sharp internal corners concentrate stress and are where nylon parts crack first. Fillets and chamfers are cheap insurance.
Use thickness, not thinness. Two or three perimeters minimum on load-bearing walls, because very thin walls warp more and carry less load.
Plan for shrinkage. Print a coupon in your own material and measure it, then scale the model to suit. Filled grades shrink less than unfilled ones.
Snap fits need testing. Nylon’s flexibility is what makes snap fits work, but the right interference is printer-specific. Test on a small sample before committing to a design.
Think about metal in the part. Heat-set inserts and press-fit bearings give you threads and bearing seats that printed nylon cannot match on its own.
Keep large flat areas in mind. If a part is mostly a wide thin plate, expect to fight warping; ribs, a split design or a different orientation will beat stubbornness.
Frequently asked questions
Is nylon hard to print?
It is the most demanding of the common filaments, but the difficulty sits in two places: drying the filament and controlling warping. Get a dedicated dryer and an enclosure, slow the print down, and nylon becomes predictable.
Do I need an enclosure to print nylon?
You can print small nylon parts without one. For anything with size, load or a flat footprint, an enclosure changes the outcome more than any other single factor, and a passive one that traps the warm air from the bed is enough to start with.
Why does my nylon print come out weak and bubbly?
Almost always moisture. Steam forms inside the melt and blows voids into the extrusion. Dry the spool at 70 to 80 °C for 6 to 12 hours, feed it from a sealed dry box, and reprint before changing any other setting.
Can nylon be used outdoors?
For occasional exposure, yes. For years of direct tropical sun, no: UV breaks the polymer down and the part goes chalky and brittle. Paint it, or use a stabilised grade if it lives outside.
Is nylon stronger than PETG or ABS?
For impact, fatigue and abrasion, yes, clearly. Nylon bends and recovers where ABS cracks and PETG dents. If you only need stiffness, a fibre-filled filament can go further than any unfilled material.